1. Edit layouts
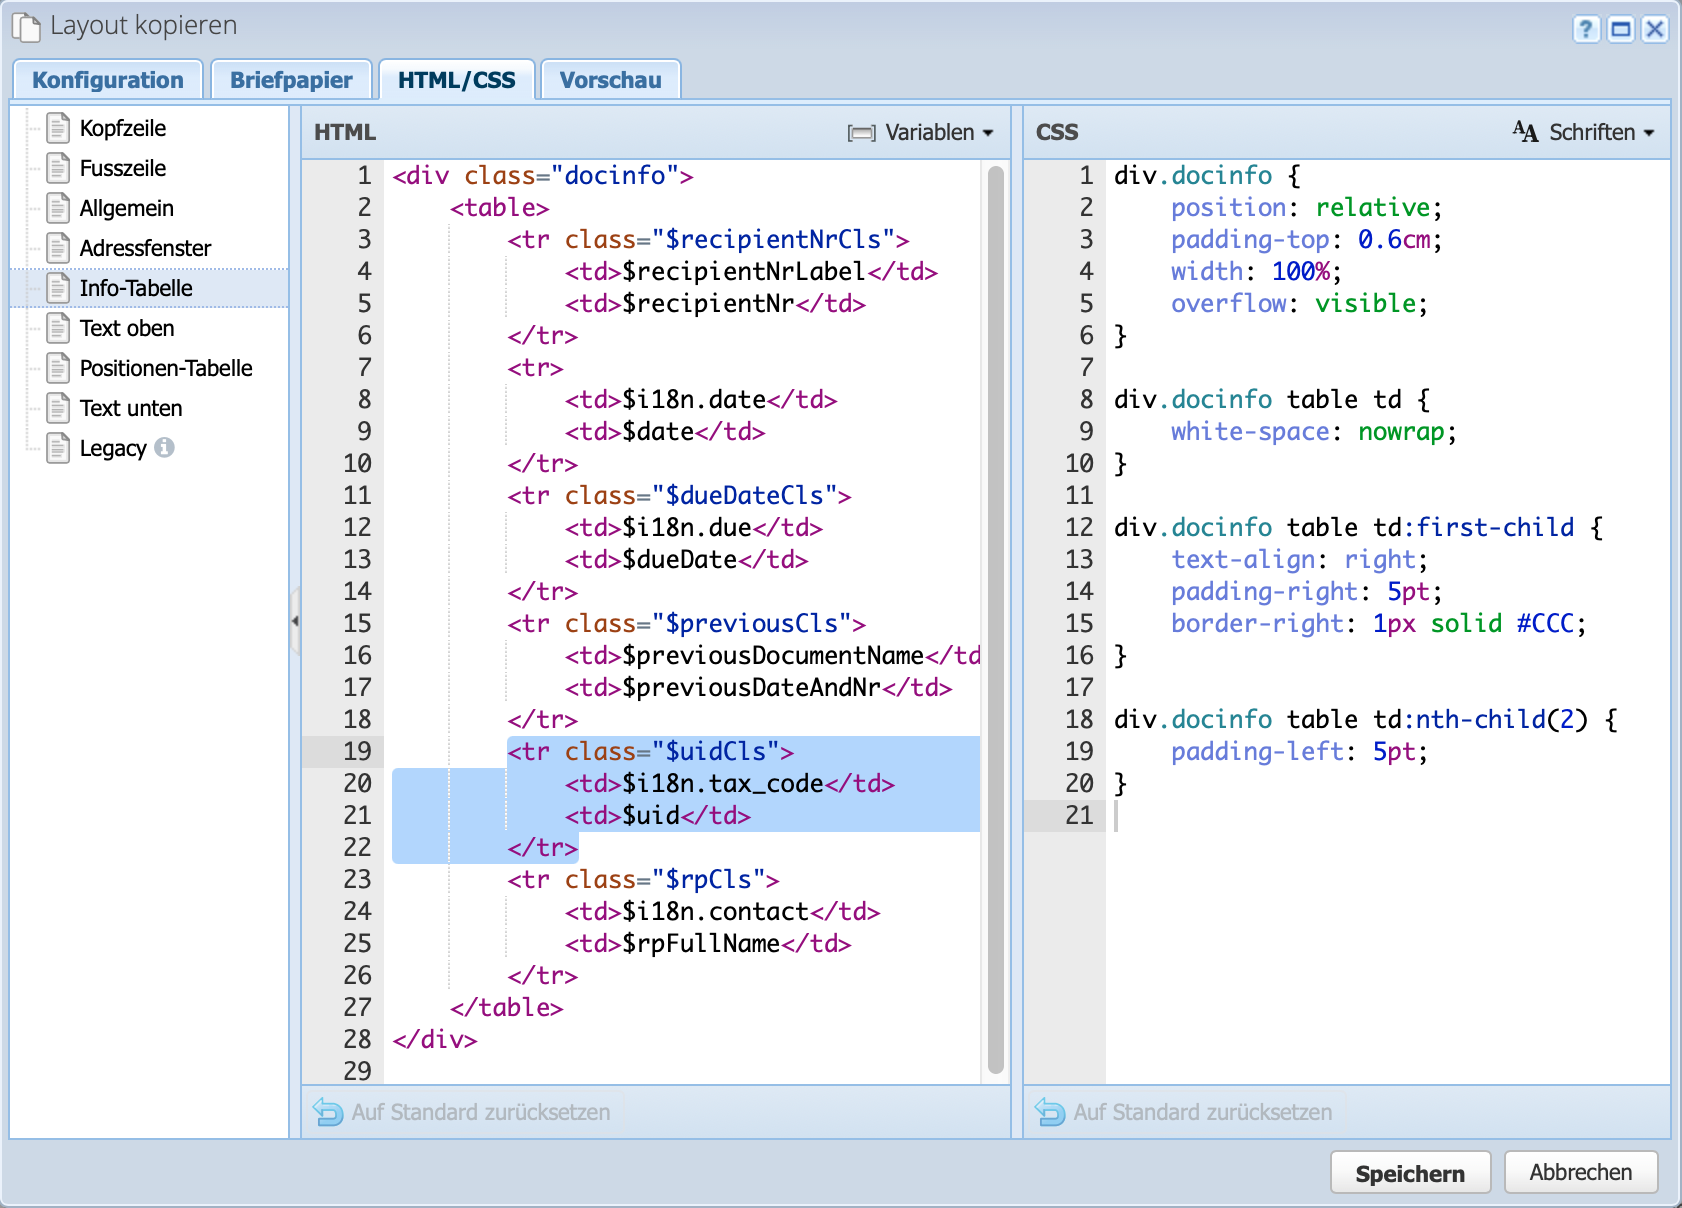
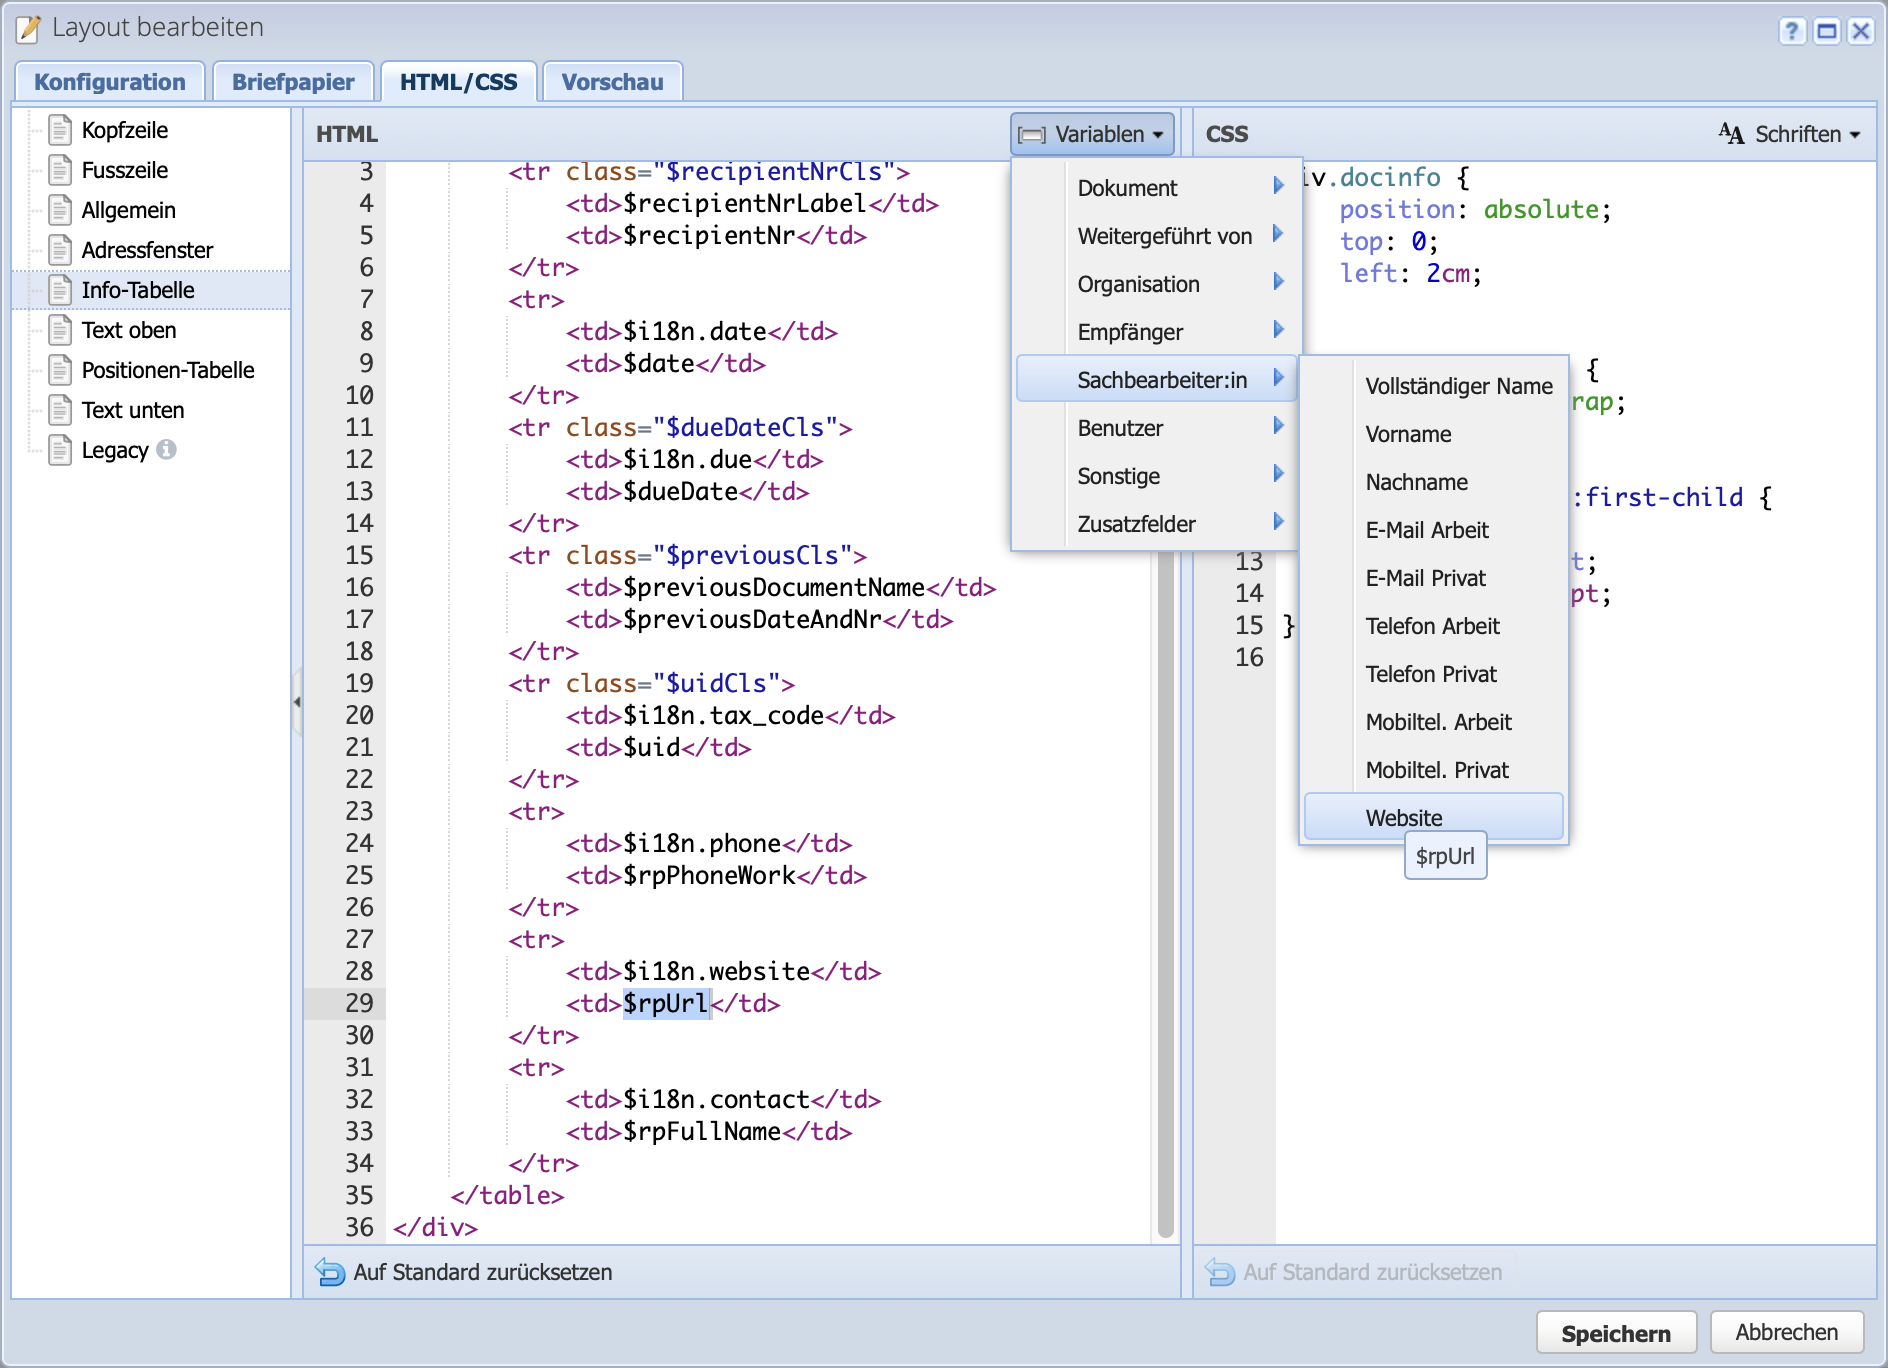
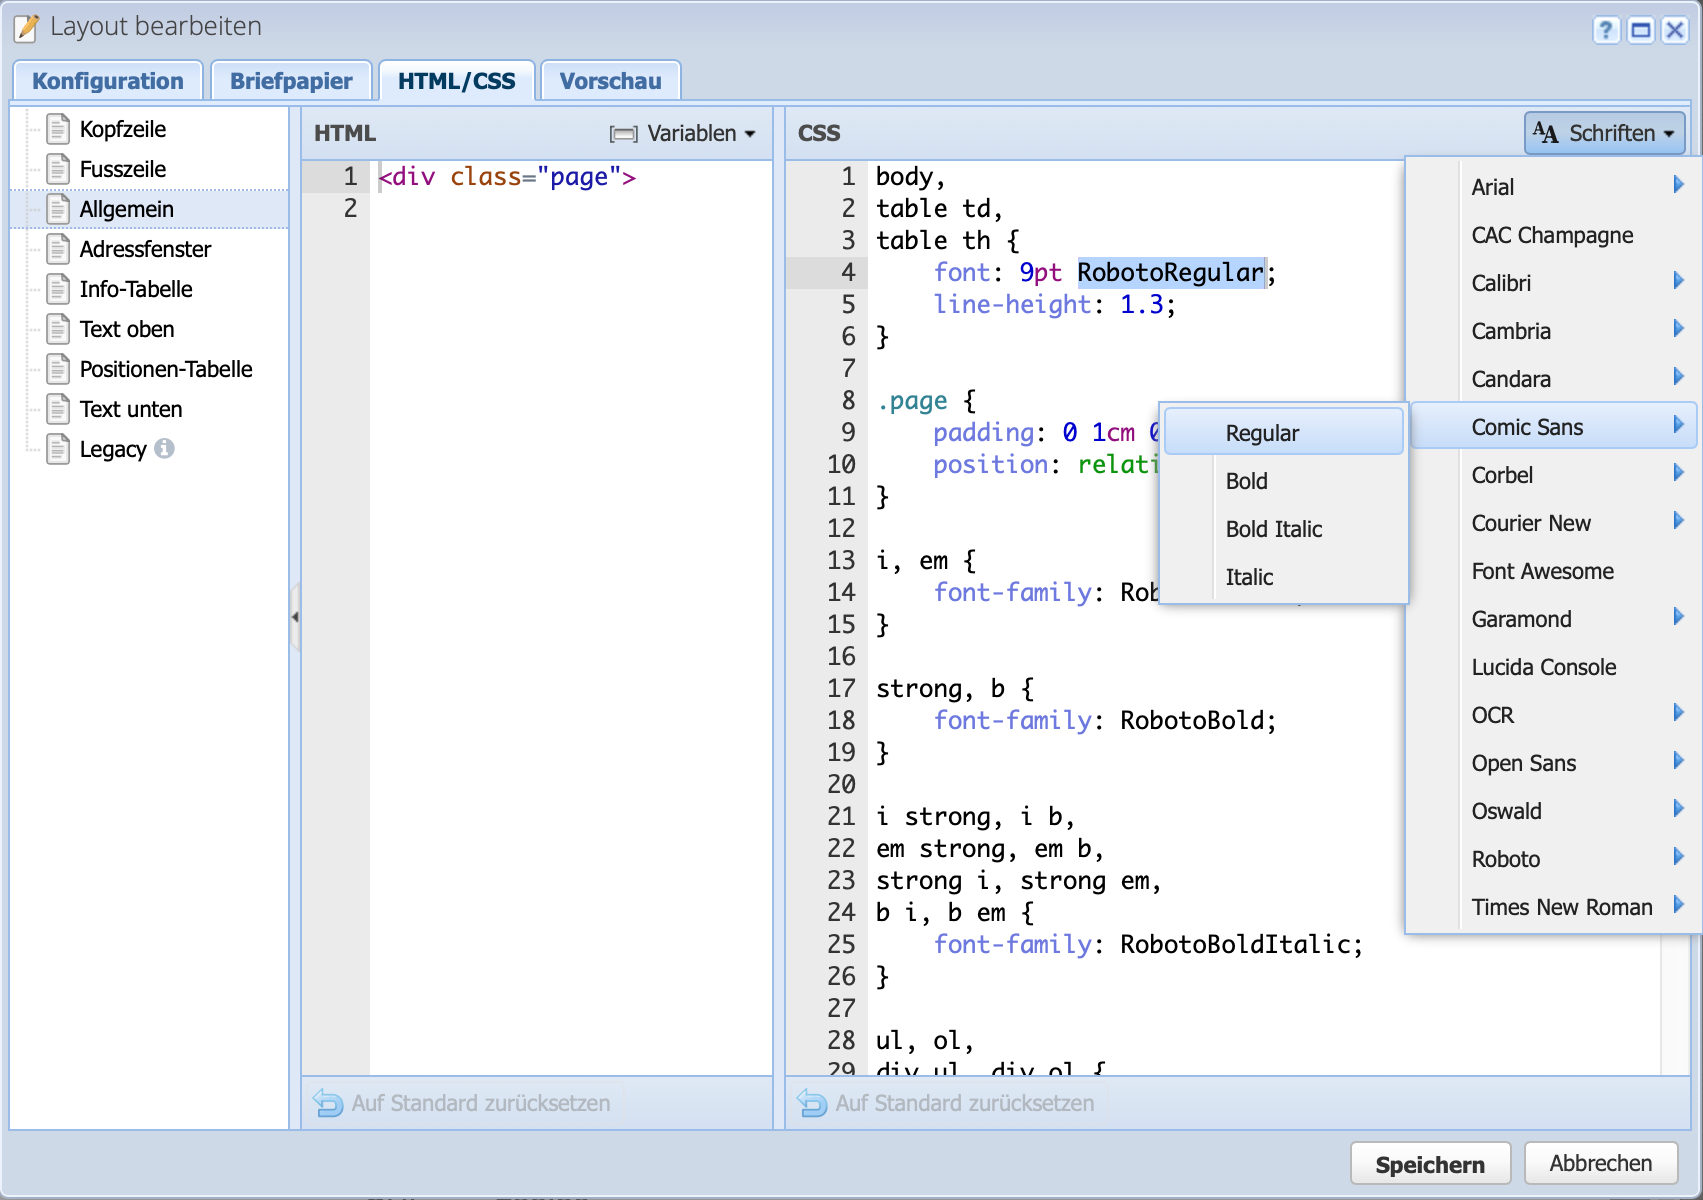
The existing layouts are accessed via Settings Order categories Layouts. Here you can create new ones, edit existing ones or duplicate them by copying them in order to change them individually.
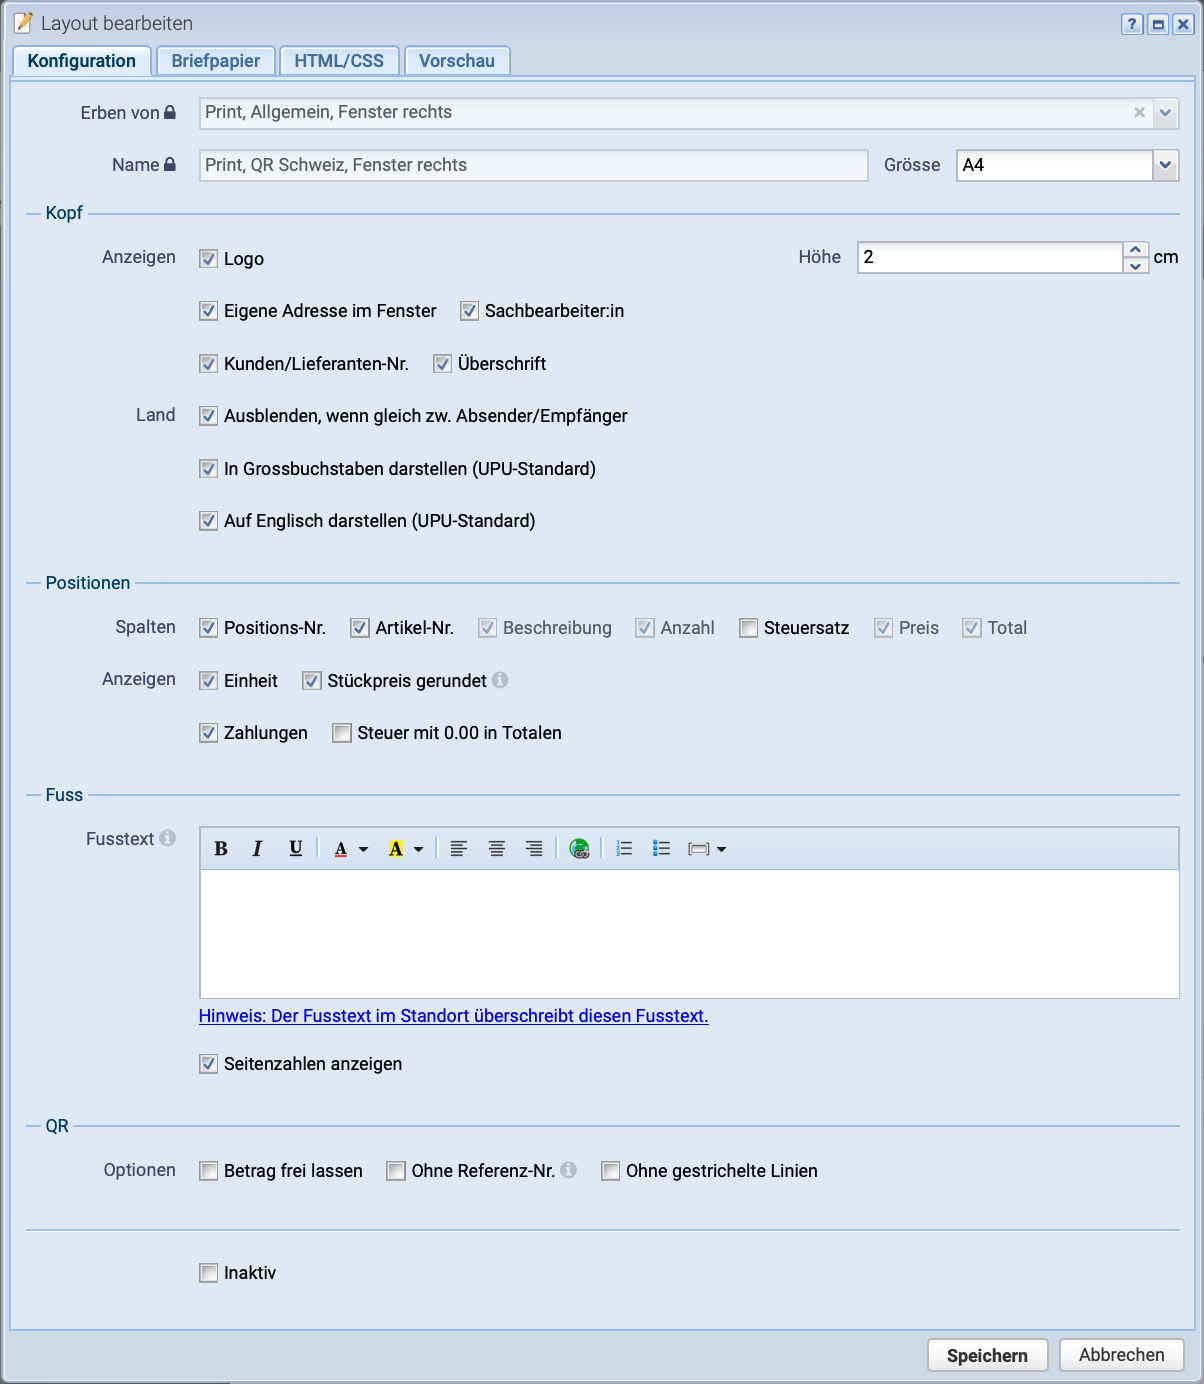
In the screenshot, all areas are expanded so that all options are visible.
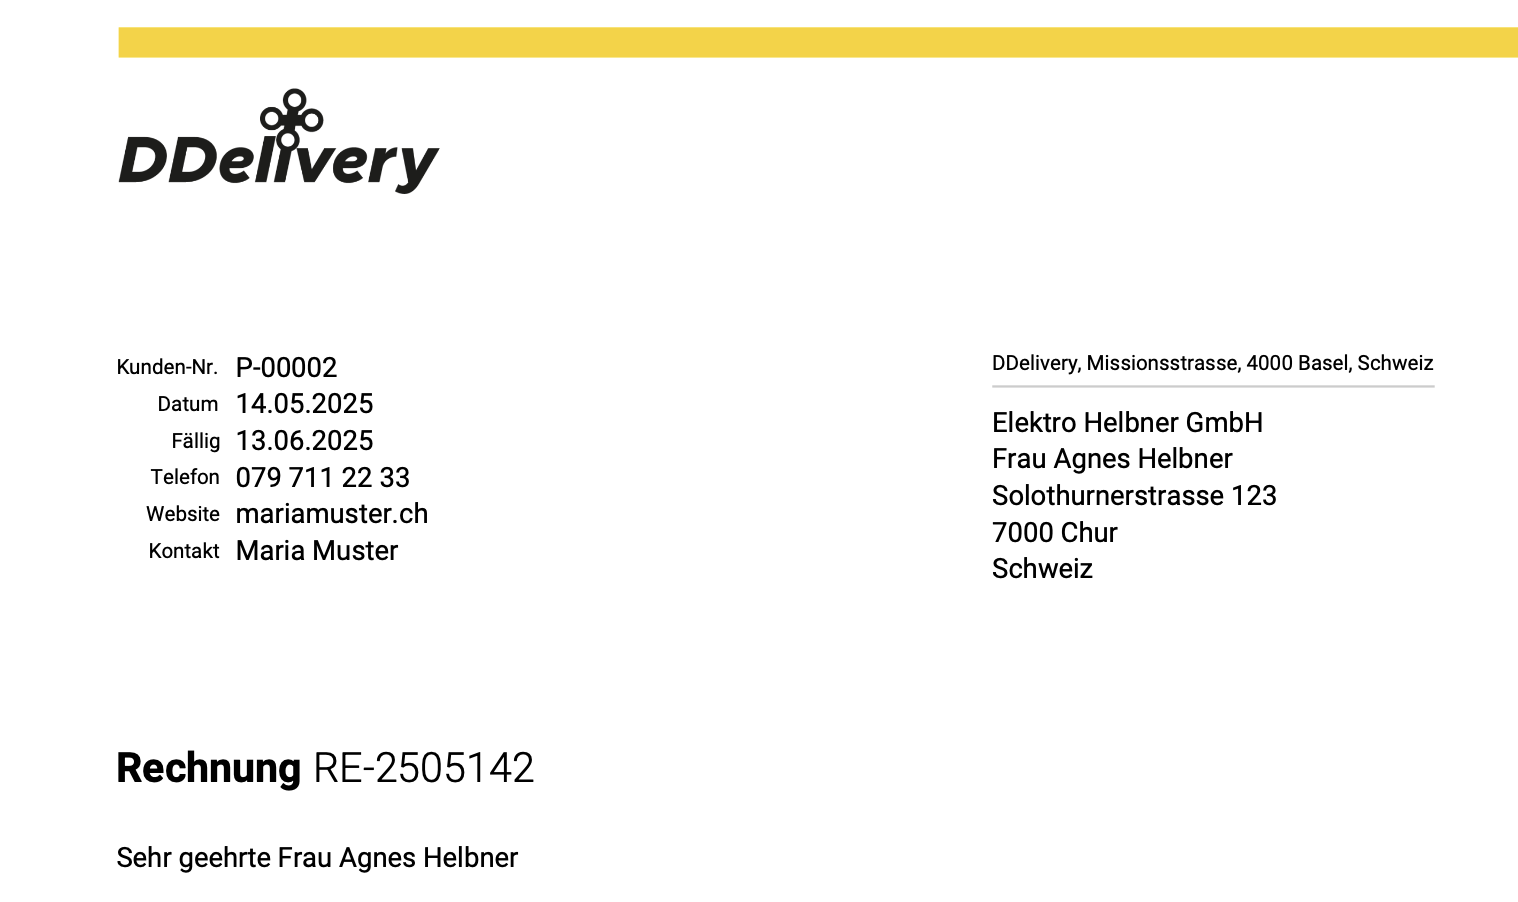
Header
Show:
Logo in the header area of documents
Logo height in cm (positioning via CSS tab: header img.logo)
Sender address in address window
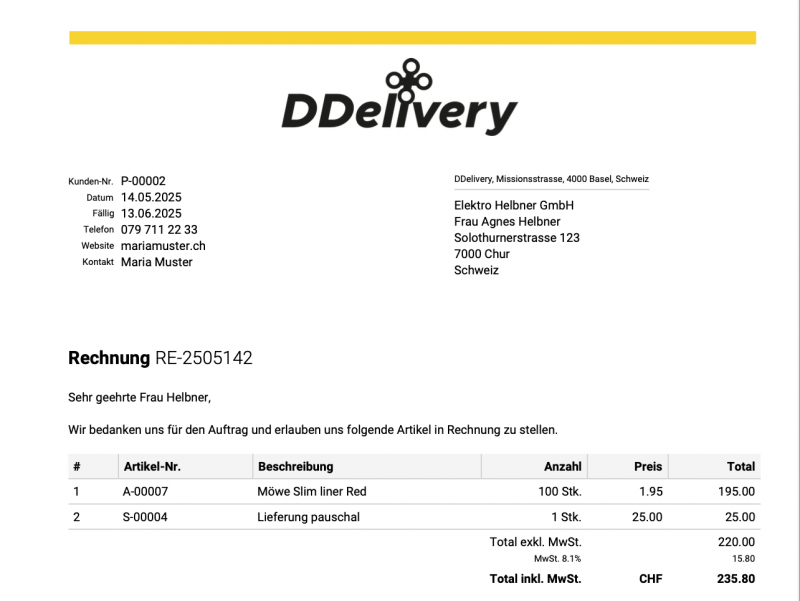
Responsible person in info block
Customer no. or supplier no. in the info block
Heading (document title such as invoice, quotation)
Country:
Options for displaying the country of the recipient's address
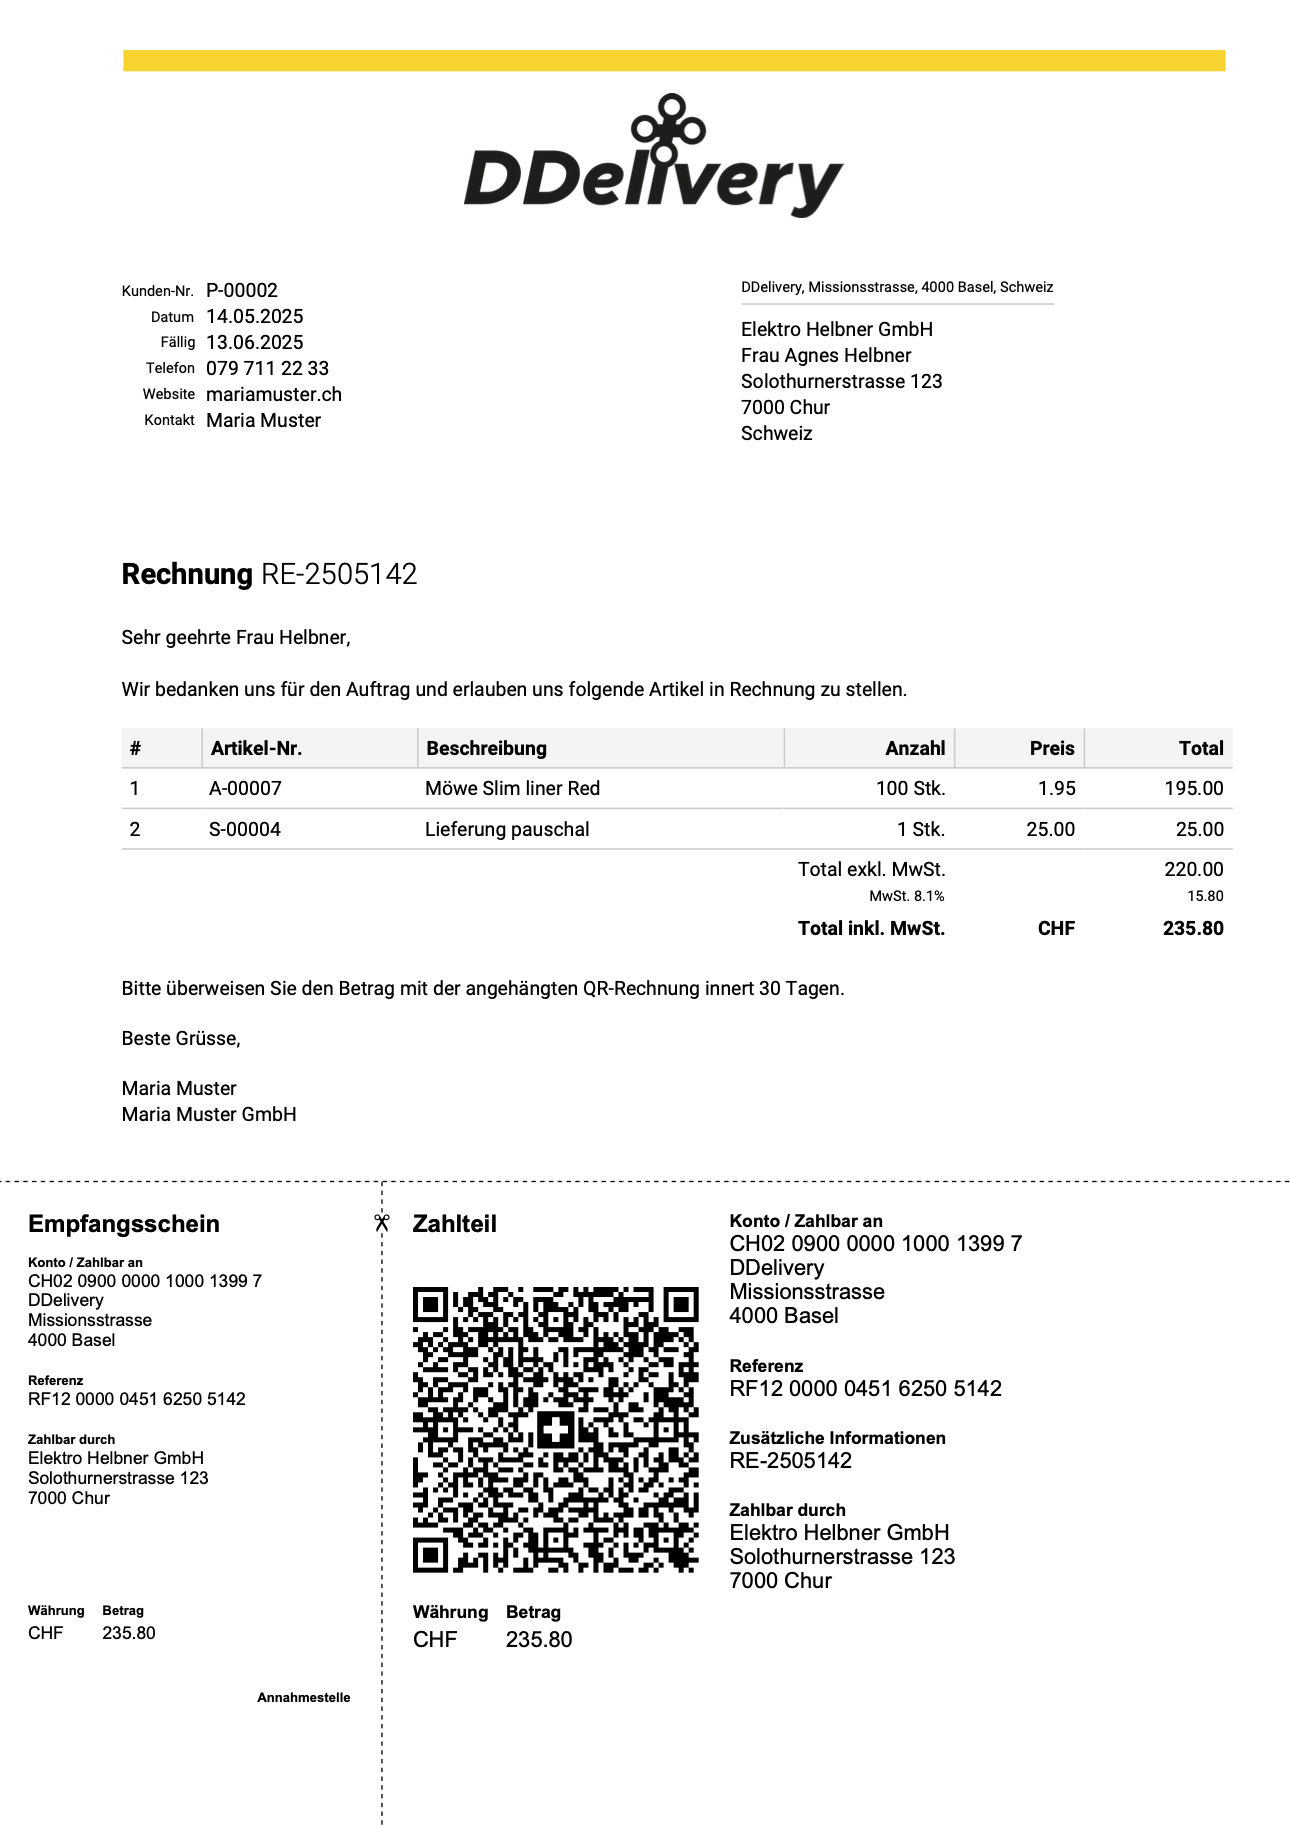
Position table
Show column item no.
Show column with article no. (if available)
Show column with tax rate per item
Show unit column (e.g. pcs. or hrs.)
Round unit prices (only for display, calculated with up to 8 decimal places)
Display payments below the total total
Show tax with 0.00 in totals
Footer
A footer text can be stored here. It is best to insert plain text from a text editor, not pre-formatted from Word. Or write here from scratch
Show page numbers
QR section
Leave the amount on the QR payment slip blank or not
Generate QR code without reference number
QR section without the dashed dividing line
Standard template
Should the layout be used as standard for all documents? The template stored in the order category overwrites this standard. See Configure order management
Set layout inactive